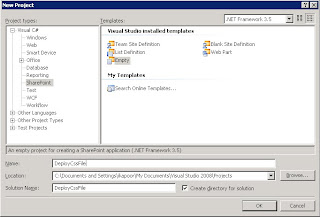
In this Post we will use VSewss extentions for deploy our Custom css file in
sharePoint as Feature and solution package. Using Vsewss empty project is the
easist and quick way to deploy your files with a solution package and a
feature.
Note : You can use this method to deploy various other files
like custom aspx page, Custom Layout page, master page, Images, javascript files
etc in 12 hive.
Before you start make sure that you have latest version
of VseWSS extentions installed for your appropriate Visual Studio Version
.
Steps are :
1. Open the Vs and Create a SharePoint Type empty
project
2.
Next we will add a SharePoint object called "Templates". Once you hit add you
will notice that a folder named "Templates" is created in our project along with
a text file called TempleFile.txt. We will however, delete the
"TemplateFile.txt" file since we dont need it, and will create a 12 hive folder
structure under the added "Templates" folder to deploy for custom file. See the
screens below.
Adding Templates object:

Create
Folder structure Layouts->1033->STYLES under Templates folder :
3.
Now add your Custom Css file under STYLES folder. You can also create new one as
i did in the below screen :
4.
It added some Css classes ( just for testing) and Built the webpart.
5.
After a succesful build. Lets hit Deploy. Once you hit deploy the Vsewss will
create all the necessary solution and feature files for your deployment ( See
the status bar - Says Creating Solution). At this time you would probbaly get an
error like "No SharePoint Site exist at this url" this is because we have not
specified the url of any SharePoint site for the deployment. You can however,
get the .wsp file or soltuion file from your project folder on your local
machine and deploy it using stsadm.
To
modify the solution package and feature related files created by Vsewss, click
on a little icon "show all Files" in the solution explorer bar.
6. Open
Manifest.xml and verify the <Templefile> path.